















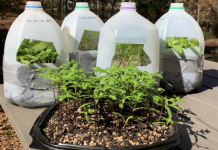









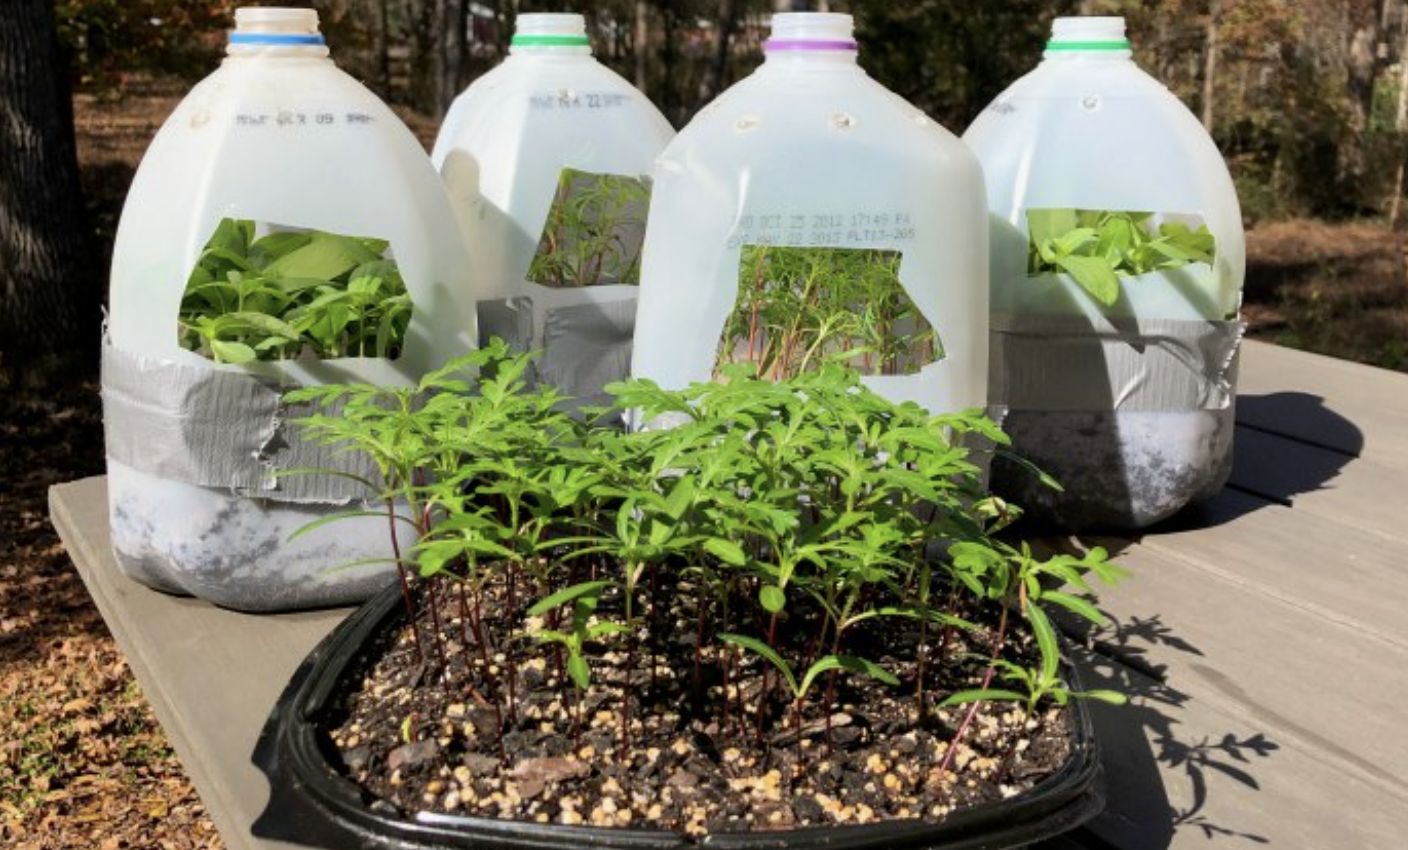
It’s about that time of year to start looking at empty gallon milk jugs a little differently. Instead of tossing them, wash them out, pull the labels off, and start setting a few aside. They’ll come in handy for winter sowing this year. Winter sowing lets seeds experience the cold, moisture, and temperature swings they would naturally get outdoors. For seeds that need a period of cold stratification, winter is actually doing part of the work for you. The jug isn’t supposed to keep everything warm like a heated greenhouse. It gives the seeds a little protected growing space while still letting rain, melting snow, and cold weather do their thing.
Here’s how to do it. Save jugs: Clean, translucent gallon jugs. Rinse them well. Remove the caps and let them dry. Add drainage: Punch several holes in the bottom. Add a few holes on the sides for airflow. Good drainage is essential. Cut the jug: Cut around the middle. Leave a hinge below the handle. Don’t separate the two halves. Fill & Sow: Add 3-4 inches of moist potting mix. Sow seeds at the proper depth. Label each jug. Tape & Set Outside: Tape the jug closed. Leave the cap off for airflow. Set it outside where it gets natural winter weather (rain and snow). Watch for Spring: Seeds experience natural winter conditions.
Open more for airflow as temperatures rise. Transplant seedlings when they’re ready.
Watch for drainage and moisture. You don’t want the potting mix sitting waterlogged, but you don’t want it bone dry either. Then, once spring starts bringing warmer days and seedlings begin popping up, those little jugs can heat up surprisingly fast. That’s when ventilation starts becoming much more important. What you sow and when you set the jugs outside depends on the seed and where you garden. A cold-hardy native perennial and a tomato aren’t going to follow the same schedule!